Organize your First Tournament
In this article, we are going to see how to create and run your very first tournament, nice and steady.
In your Organizer Dashboard, you are gonna see a button to CREATE a new project. Simply click it, and fill in the name of your project.
You can find more about the Management of Projects in the dedicated guide, to create groups of admins and more!
2. Create the tournament
You may now manage the tournaments in your project, and create a new one directly from the Project interface.
If you have other administrators to manage the tournament with you, we have a whole Permissions System to let you organize things and have everyone able to do his job!
3. Choose a structure/format
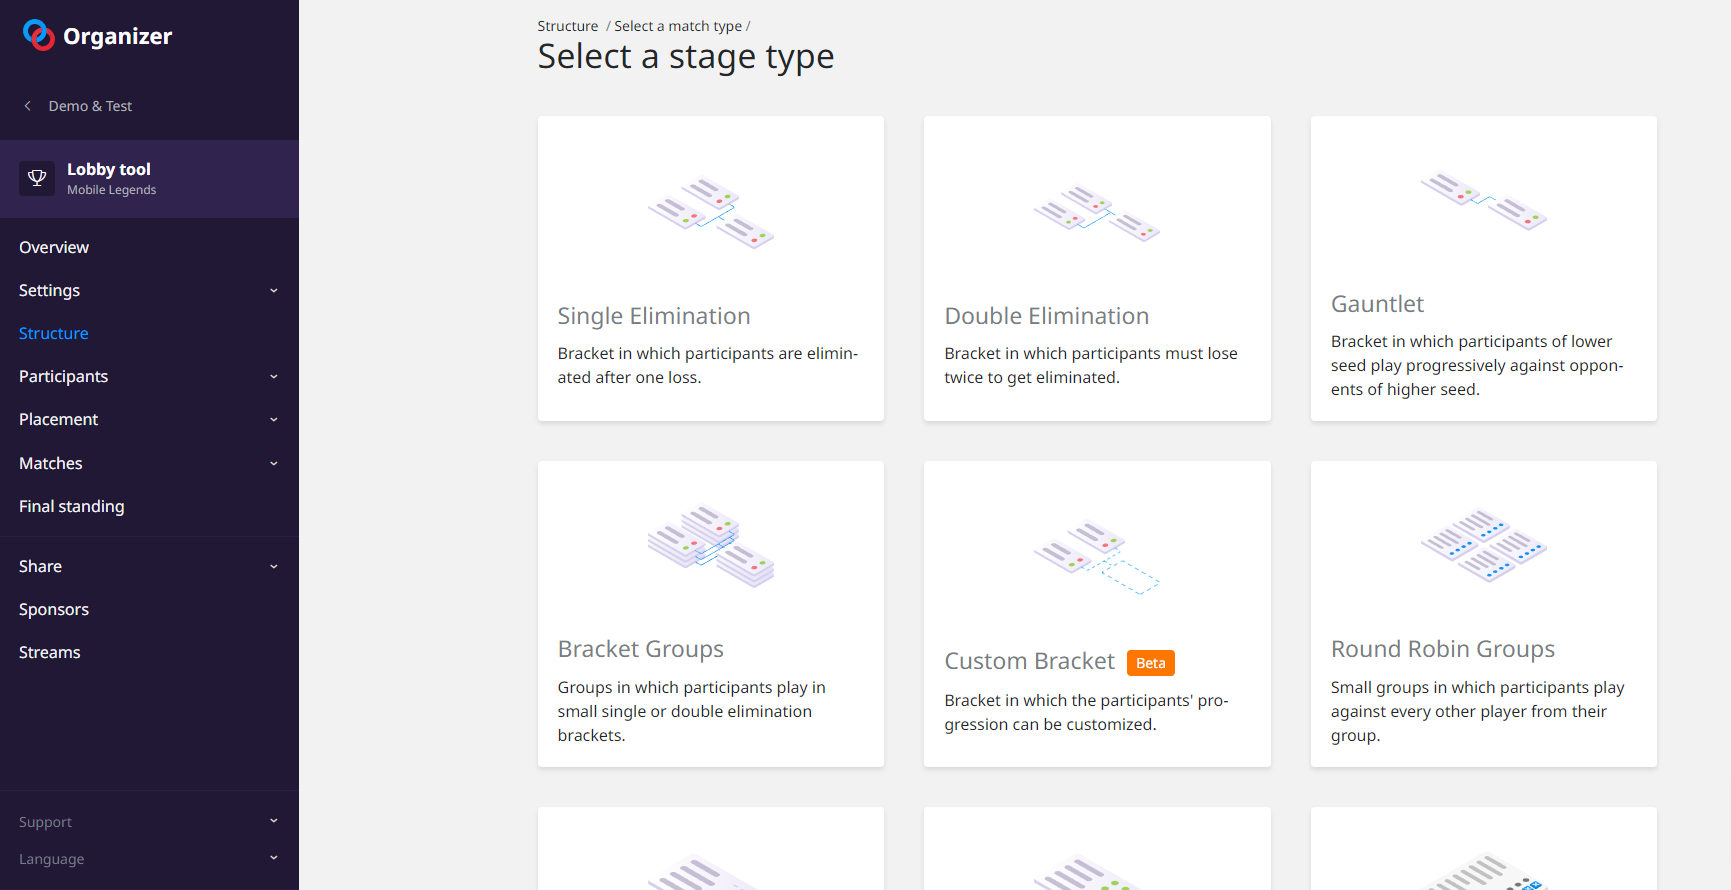
The next step is for you to choose what kind of tournament you want to play. How many participants are you going to pit against each other? Will they all play a League or Swiss System? Or maybe you want to split them into several Groups, and then seed the best ones in a Bracket? The choice is yours, and if you need a hand making your pick, we got some advice for you: how many phases to play and which format to choose.
4. Publish your tournament
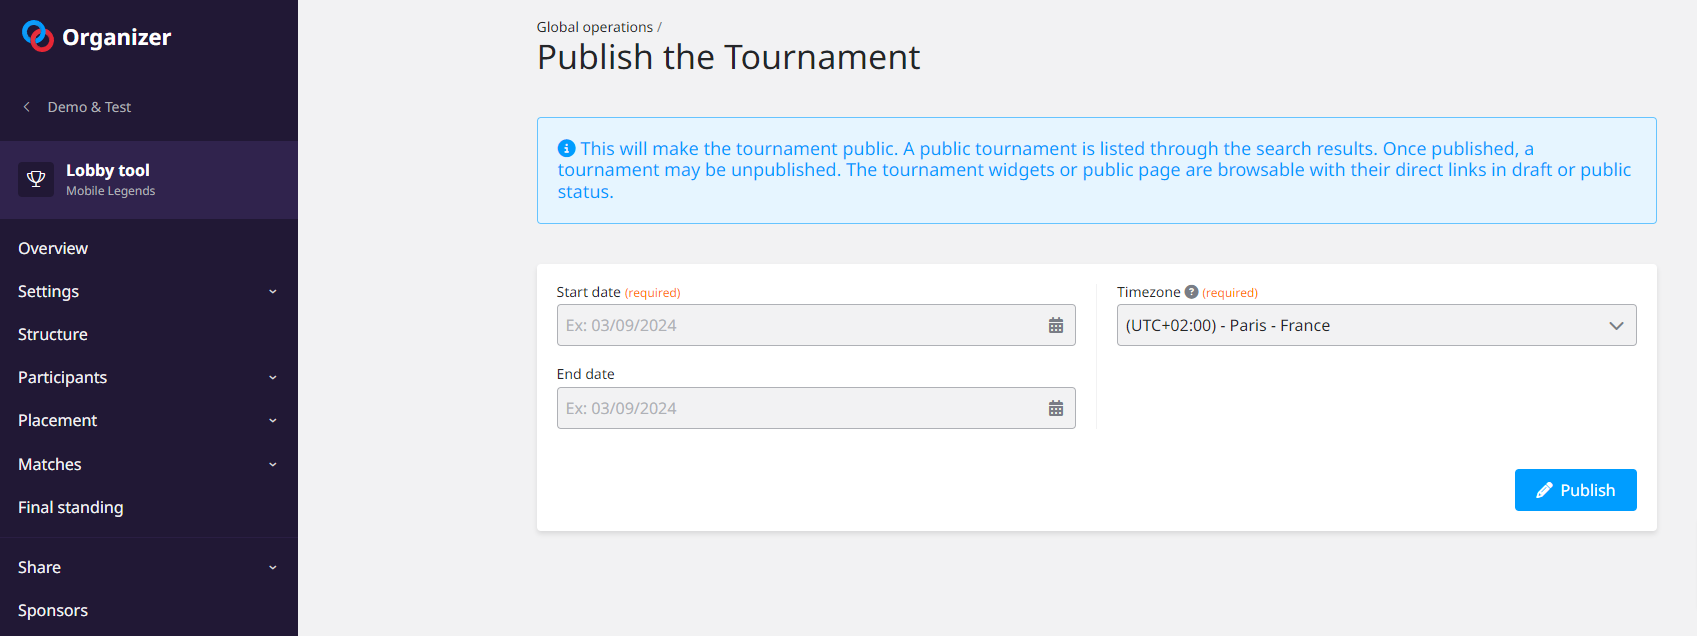
Next logic step, unless you prefer keeping your tournament private, is publishing it, so that potential participants can find it, and apply for registration.
Publishing your tournament will make it visible to everyone.
5. Share your tournament
You have a nice tournament, up and running, now is the time to share it with the world! By the way, if you opted for the Registration process for your participants, this part comes way earlier, because you will have to share the tournament for participant to register in it. A few rules of thumb here are to make your front page look good, to try and attract the spotlight and to promote your tournament.
You have several choices when it comes to sharing the tournament, you can
- use our widgets to integrate on your website
- share the link to the public page of your tournament, that can be found on the main dashboard (as per the screenshot above)
- share the link to the registration page, that is available under the "Registrations" menu, and is easily accessible from the main public page
6. Manage your participants
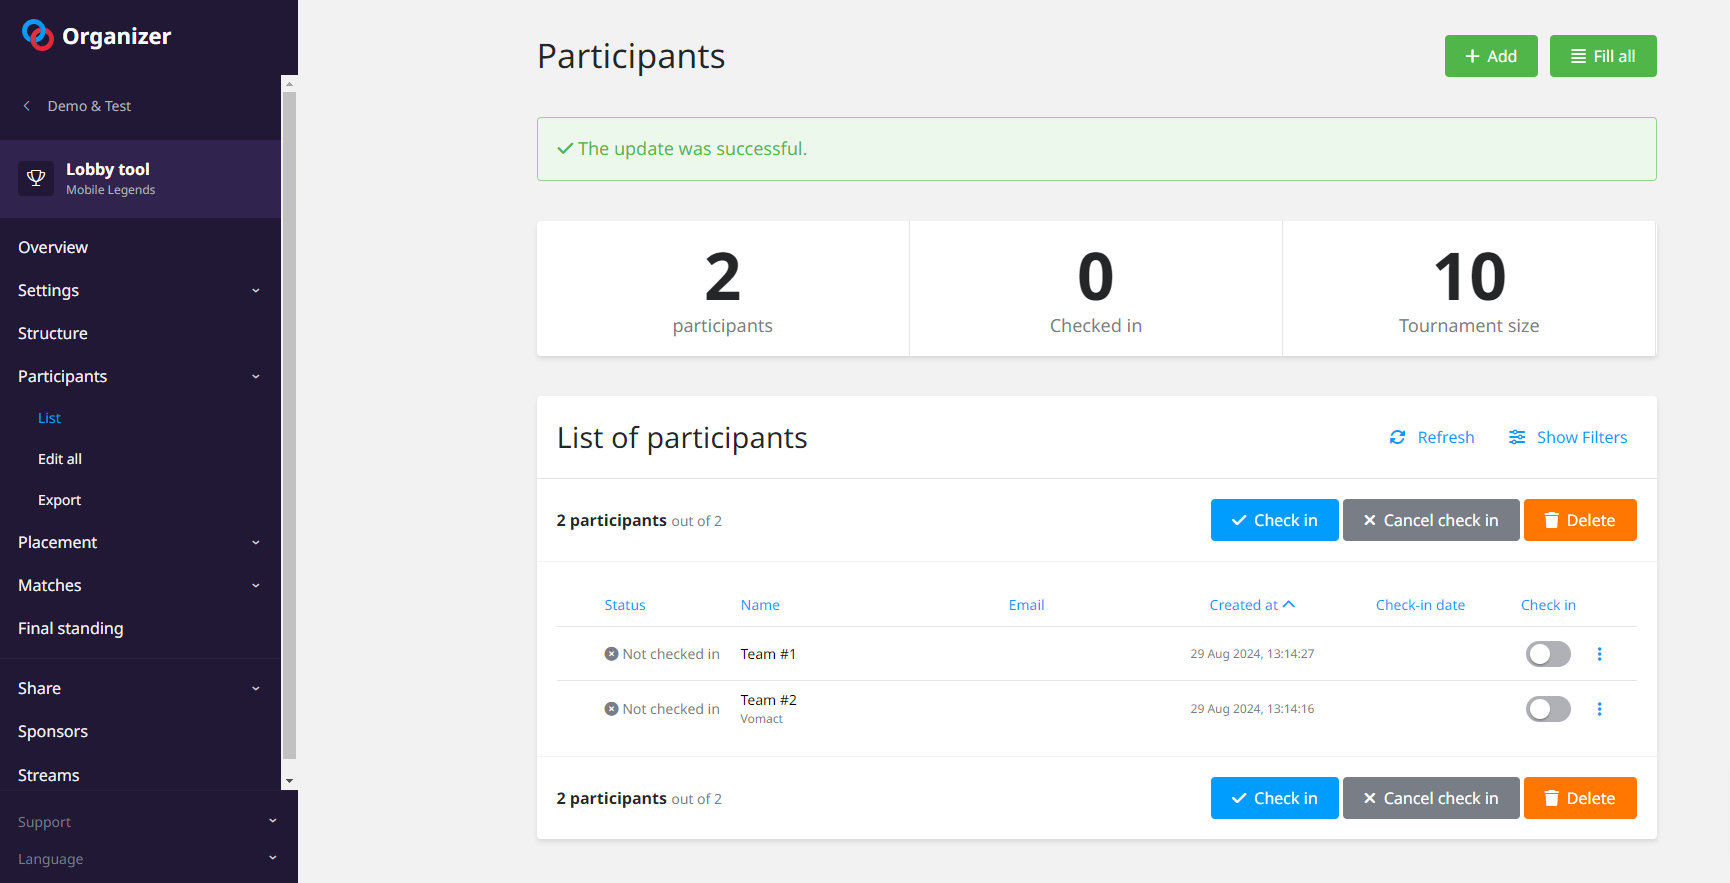
It is now time to open your registrations! Do not hesitate using Custom Fields for your participants to fill, if you need more information about them when they register.
Alternatively, you can also manually create participants directly in your tournament, but you will have to fill in their Toornament Account Emails in the info to make sure they can enjoy everything the platform has to offer.
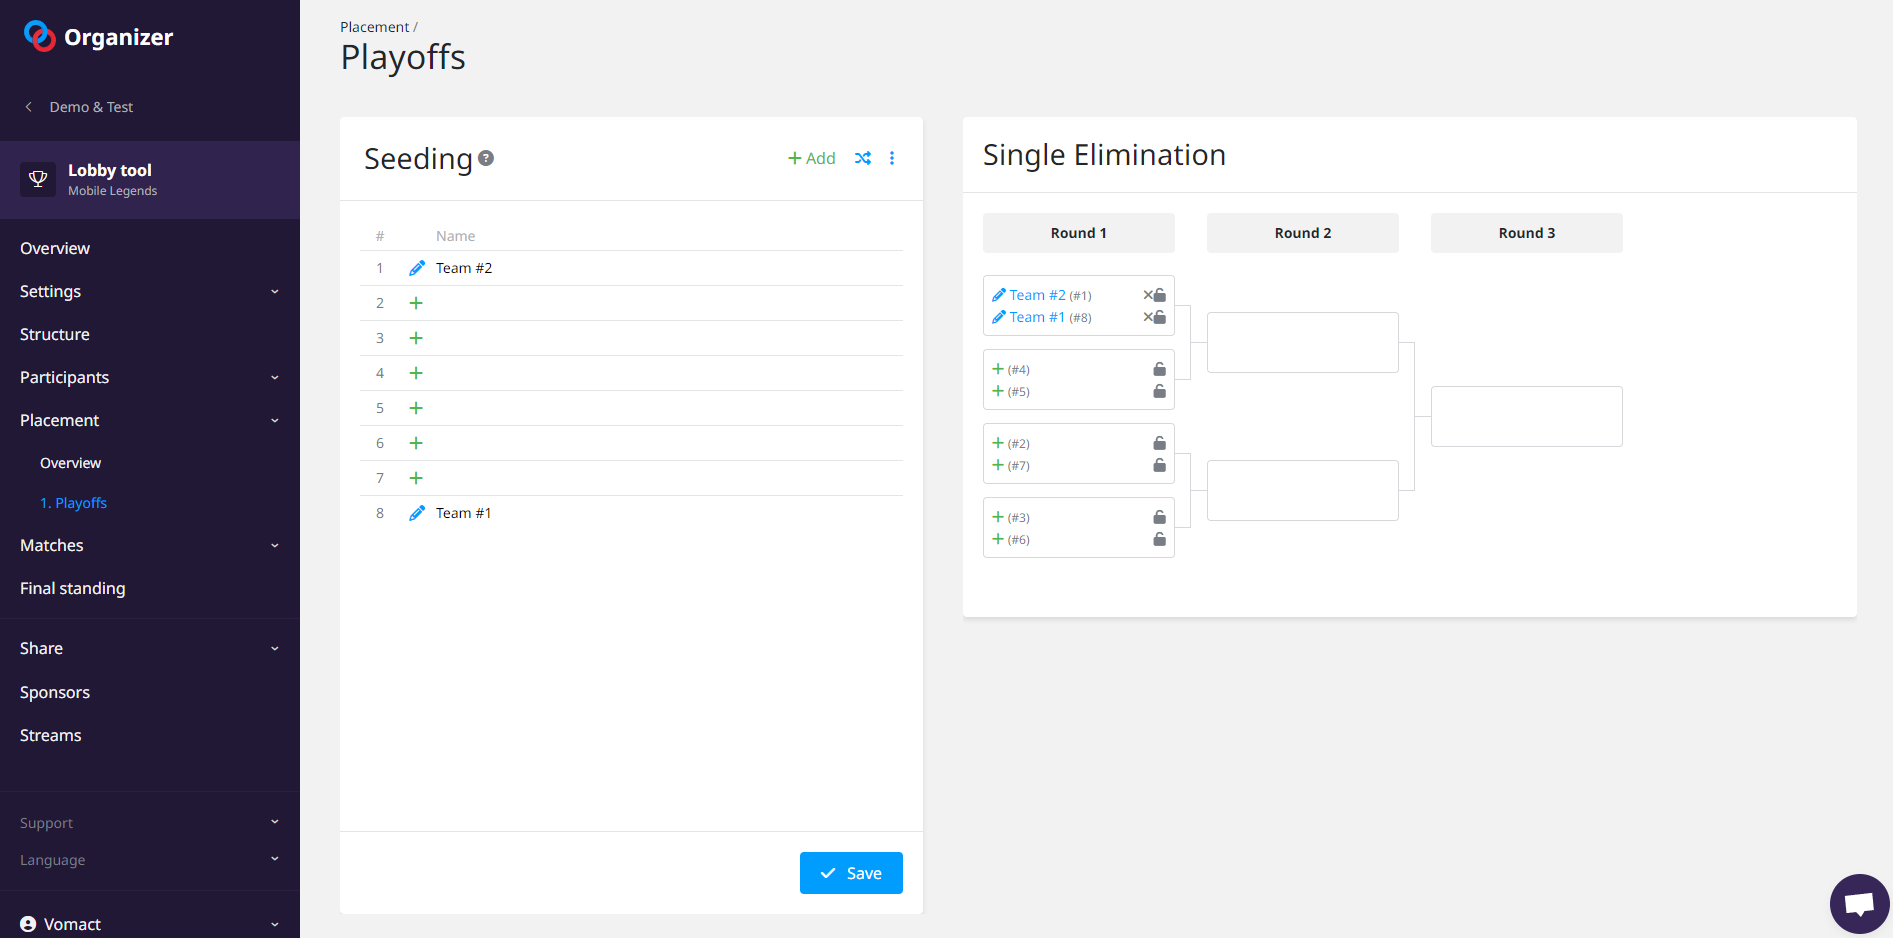
7. Place your participants
In most of the cases, match results will have to be manually entered. If you enabled the Participant Report, your participants will be able to report their results on the website after each match they play in your tournament. You will only be needed in case a dispute emerges.
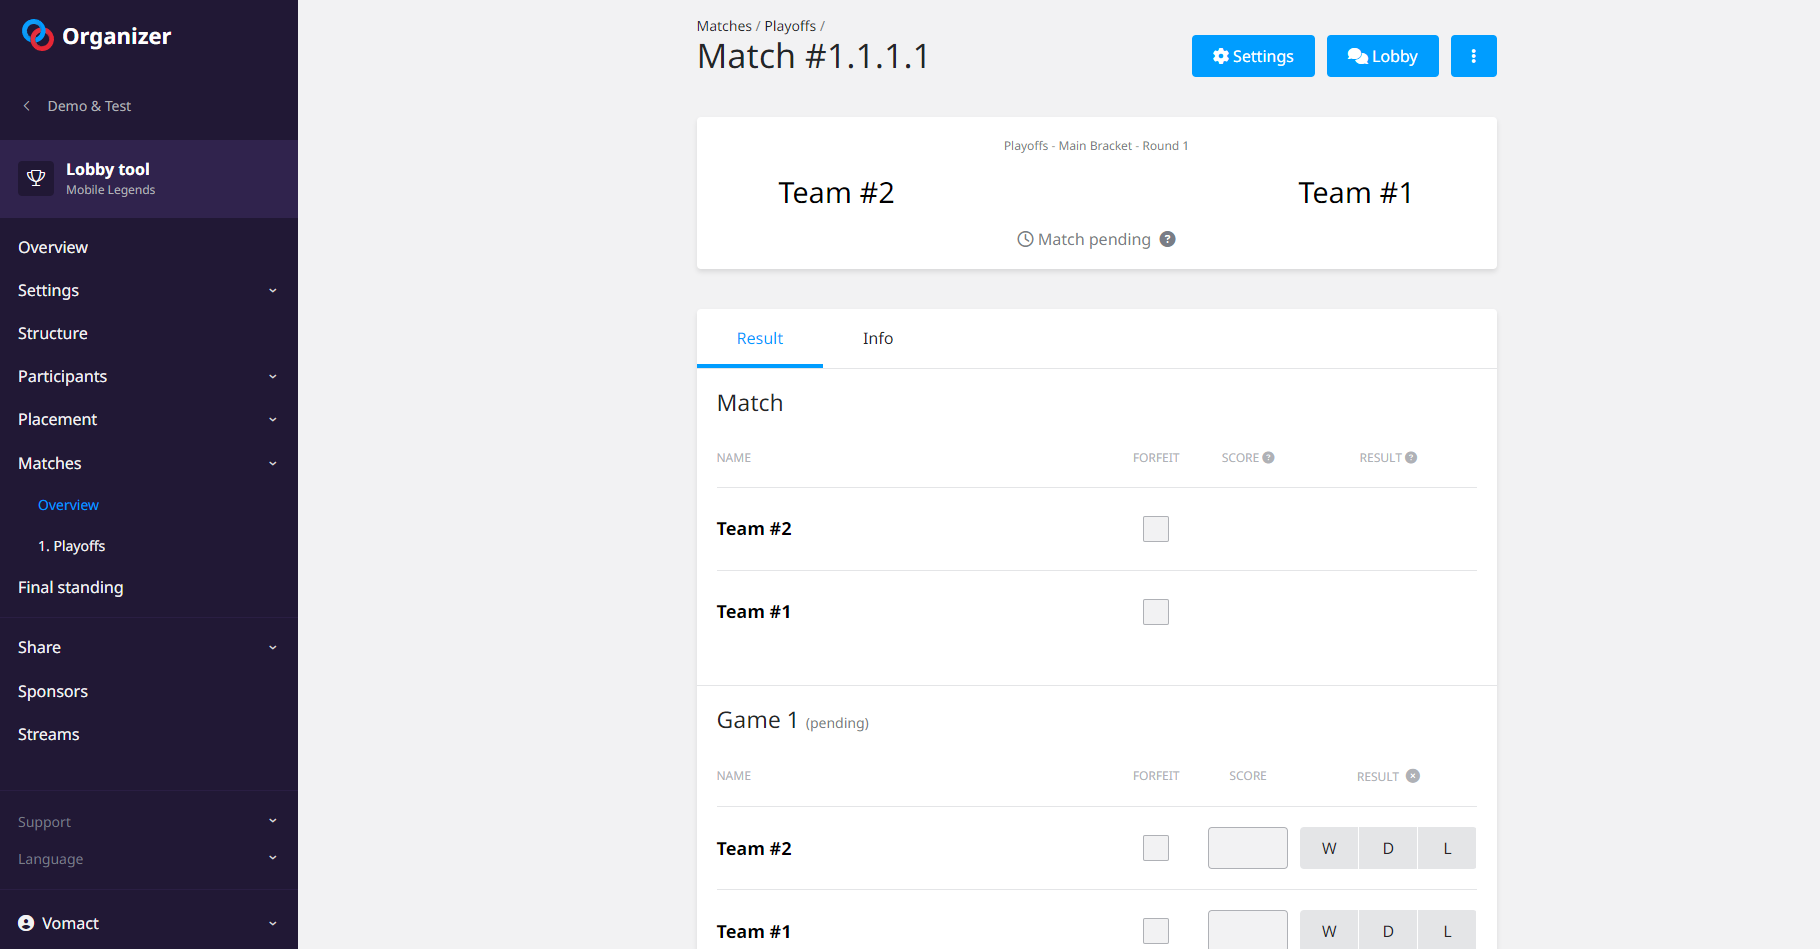
As of now, two exceptions to this rule of thumb, with the LOL Tournament Codes and CS:GO eBot, allowing you to automatize the result report.
BONUS: Get creative with our API

For more advanced organizers, or professional ones, we have a free and open API that can help you improve your video and/or stream production with statistics overlays, results and the likes of it. It can also be used to develop tools to ease your life with tournament management!
Another great application would be the creation of stats infographics, like this one for the Just Dance World Cup.

